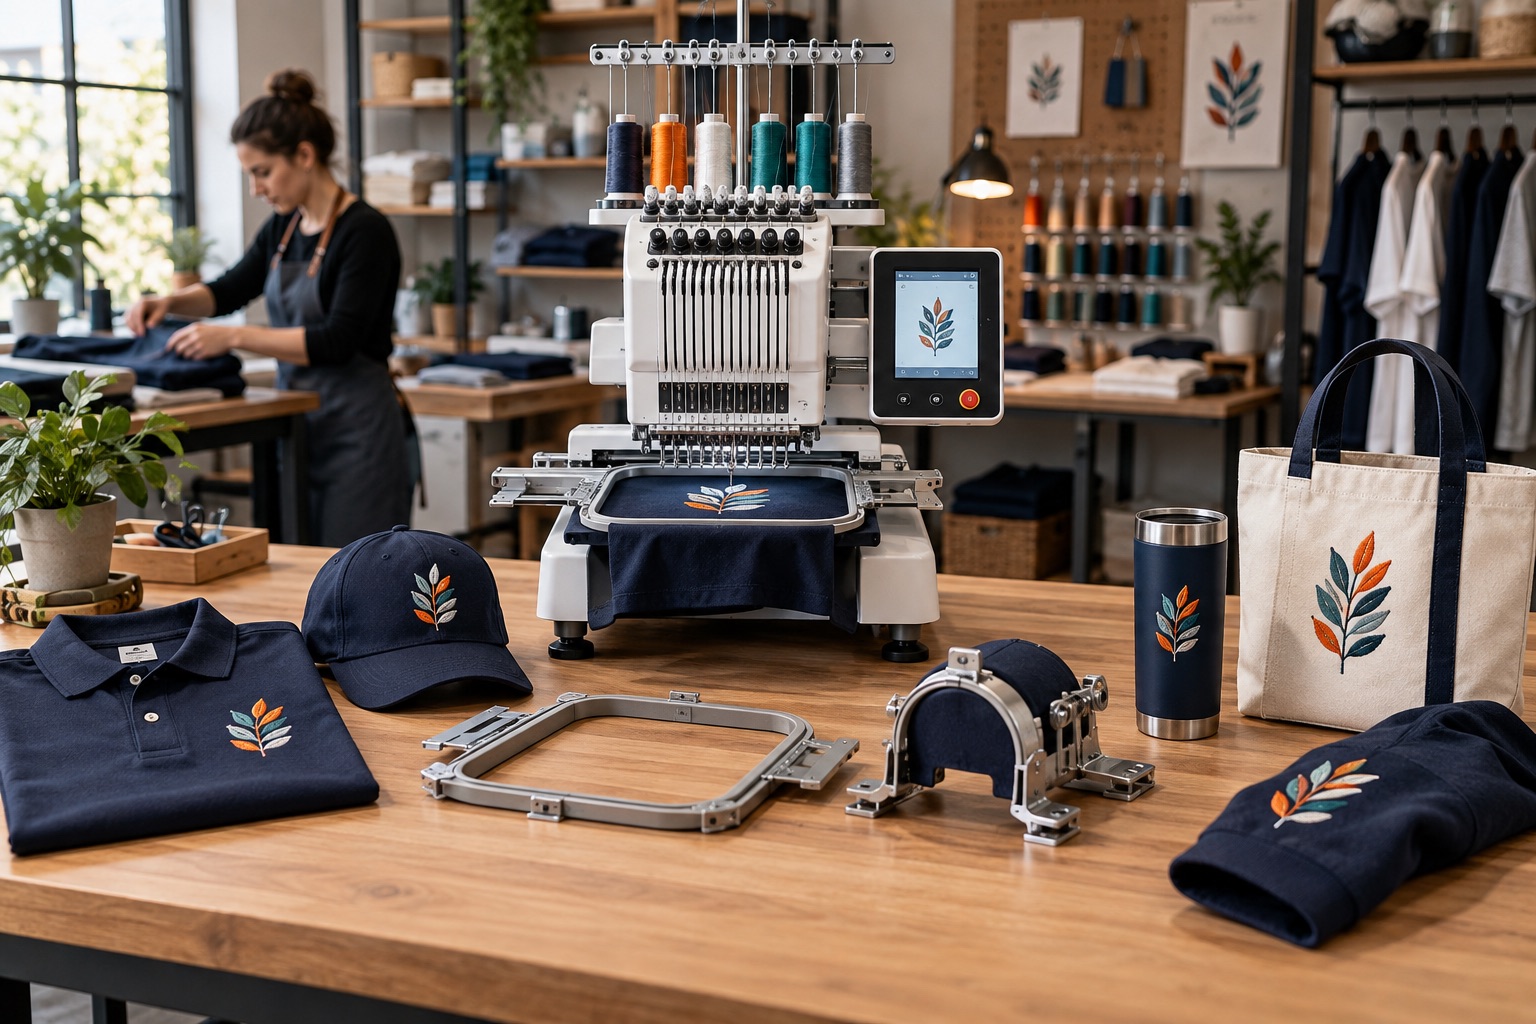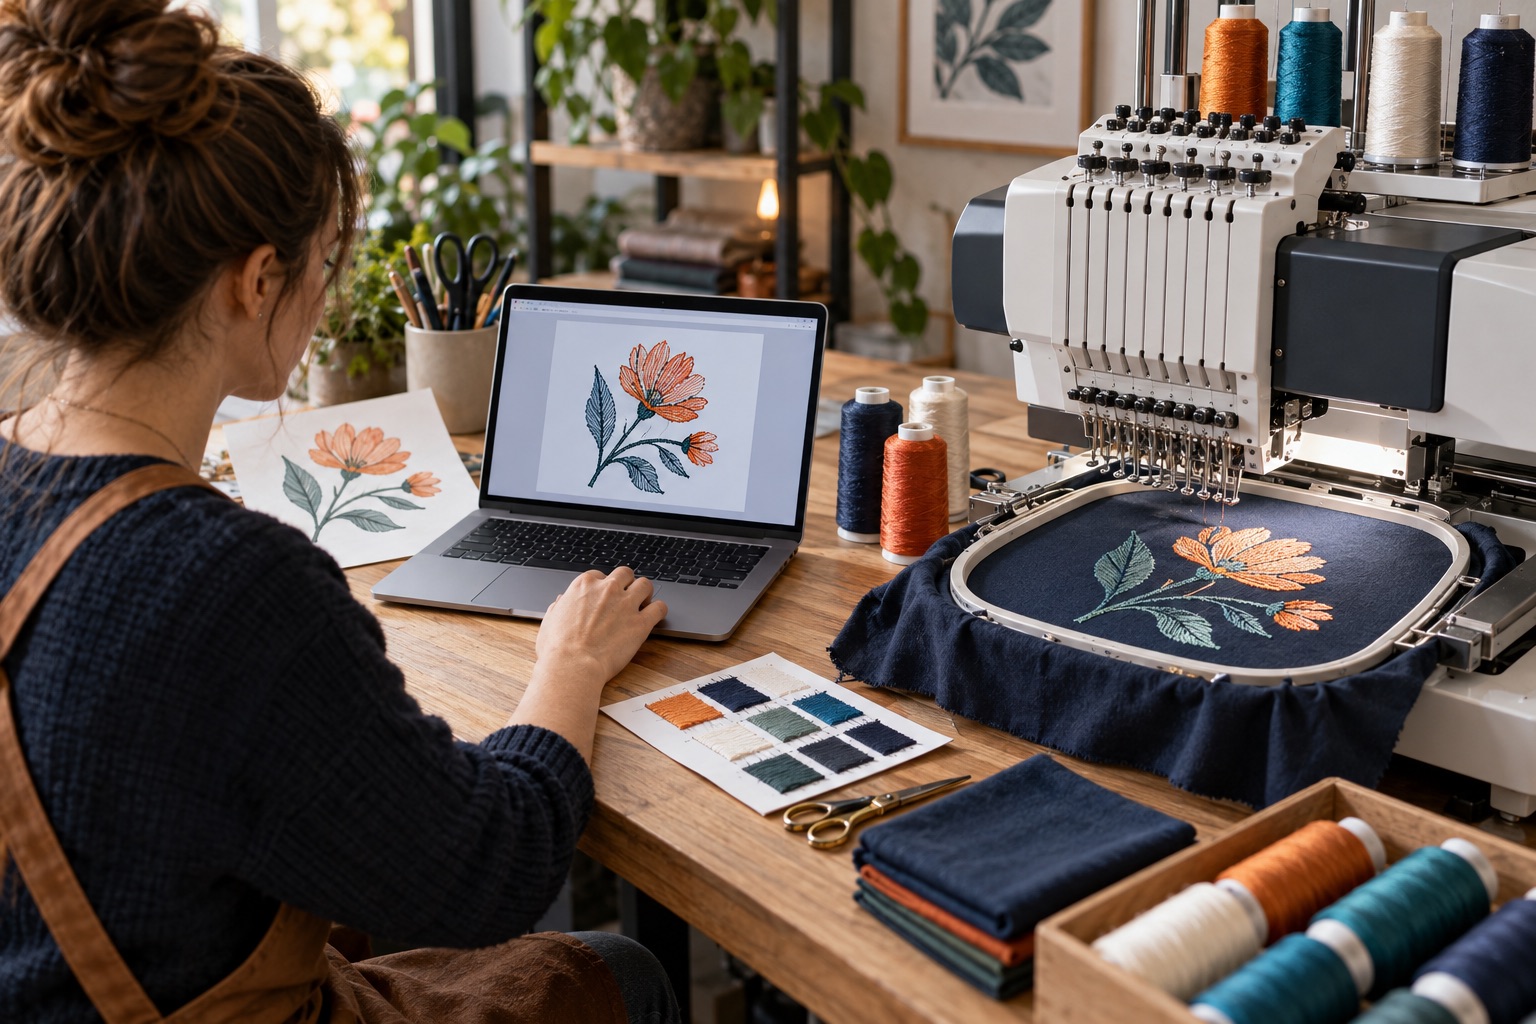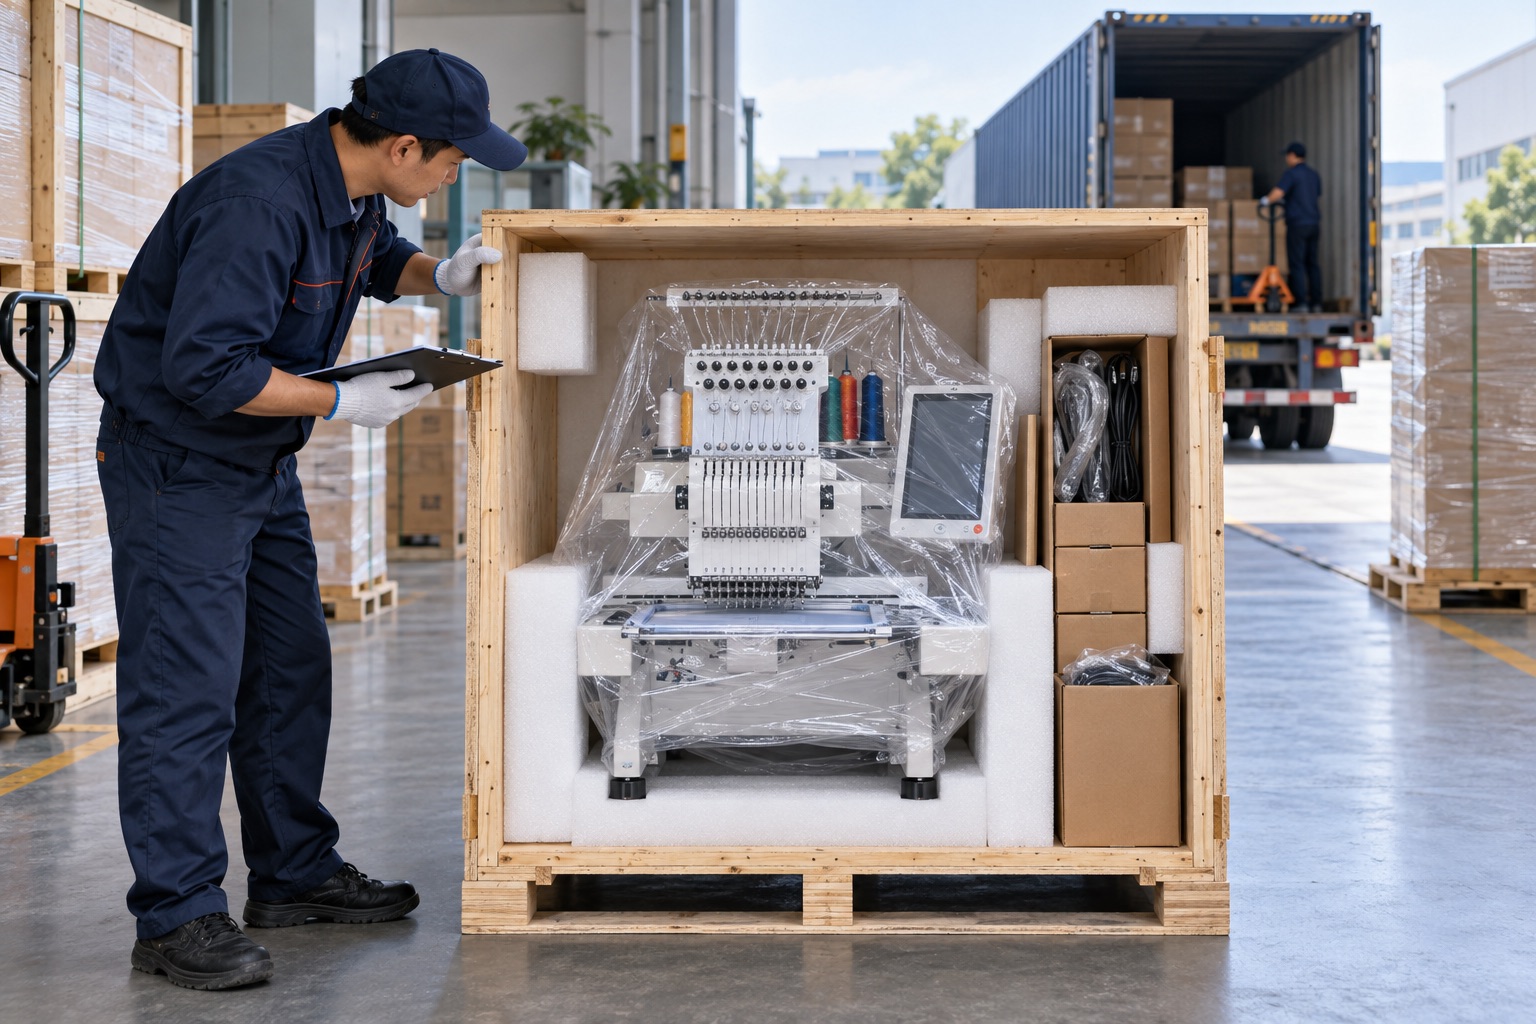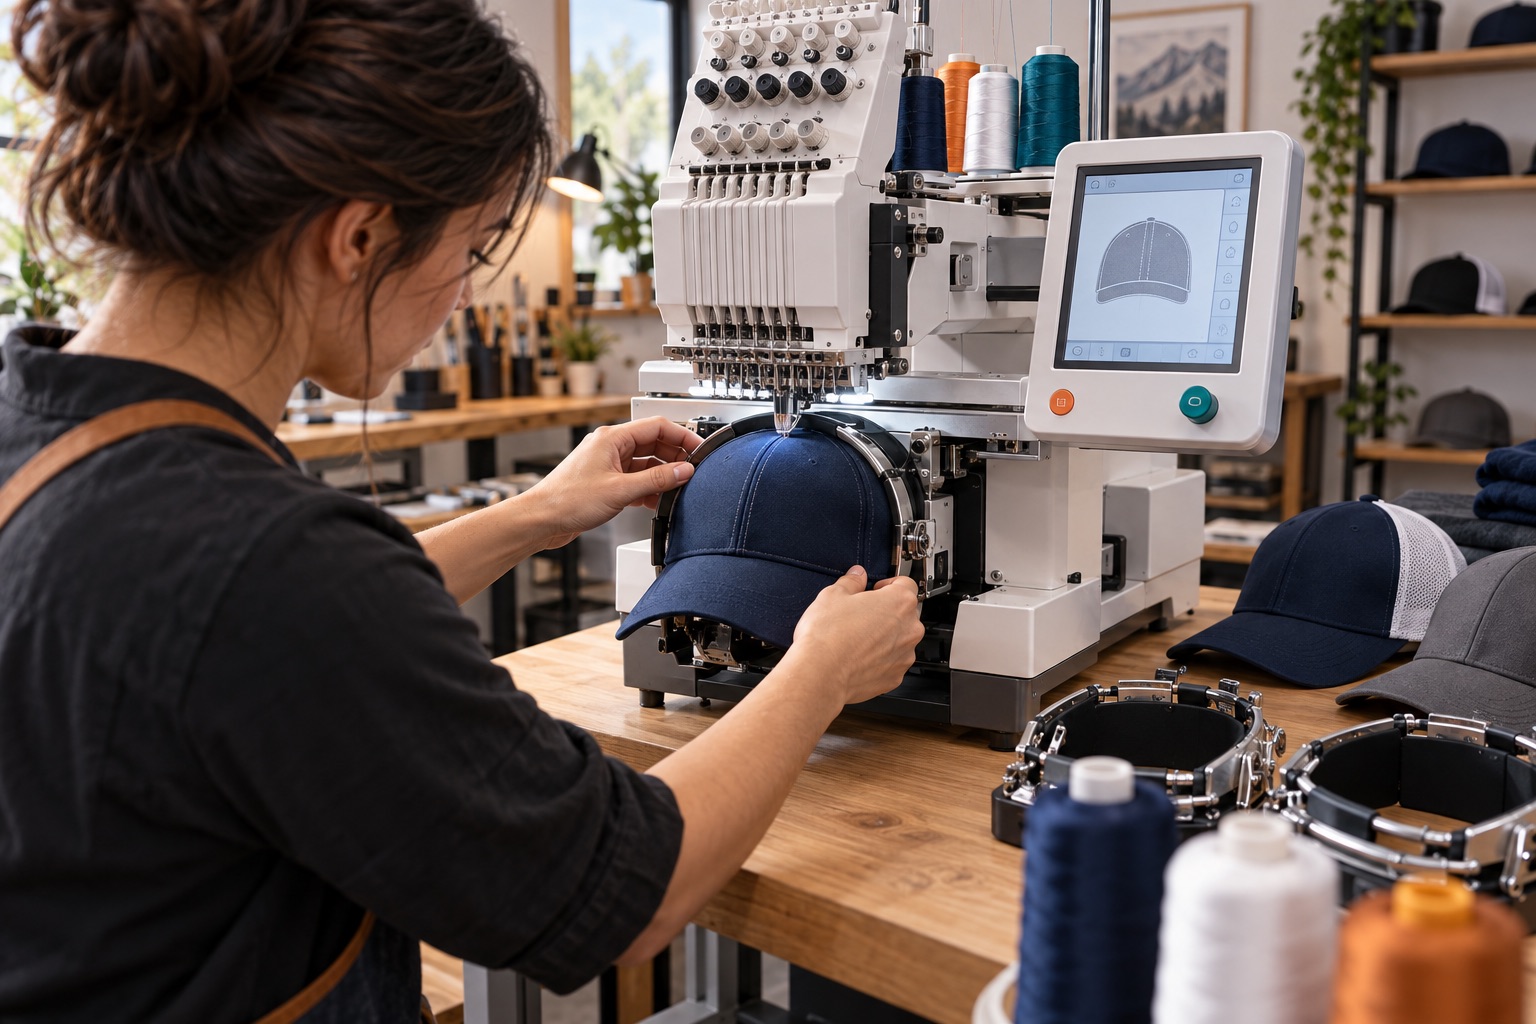
Cap embroidery places the design on a curved, structured product. Consistent results depend on the cap frame system, digitizing, hooping and machine setup working together.
Confirm the cap system is complete
Ask whether the quotation includes the cap driver, cap frames, frame station and any mounting hardware. Confirm the number of frames for a single-head or two-head workflow.
A photo of the full included set helps prevent misunderstandings before shipment.
Share the caps you actually use
Structured caps, soft caps, six-panel styles and different closures can behave differently during hooping. Send the supplier product photos and describe the front panel, seam position and desired design size.
The embroidery area advertised for caps is not the same as a guarantee that every cap and design will run equally well.
Plan digitizing for the curved surface
Cap designs are commonly planned to sew in a sequence that controls movement across the curved front. Center seams, small lettering, fill direction and underlay need attention in the embroidery file.
Test a representative design and cap before committing to a large customer order.
- Cap construction and panel style
- Design width, height and placement
- Complete cap frame package
- Suitable backing and hooping method
- Test sew before production
Build a repeatable loading routine
Mark alignment points, train operators to seat each cap consistently and inspect the frame before every run. On a two-head machine, both caps should be hooped to the same reference so the paired output matches.
Machine configurations, commercial terms and support scope vary. Put the agreed details in your quotation and configuration sheet before ordering.