A first embroidery machine should fit the orders you can win now while leaving room to learn. A clear startup checklist prevents spending on features that do not support your immediate customers.
Define the first customer group
Decide whether you will focus on local businesses, school uniforms, sports teams, fashion labels, online personalization or contract samples. Each group creates a different mix of design sizes, order quantities and product types.
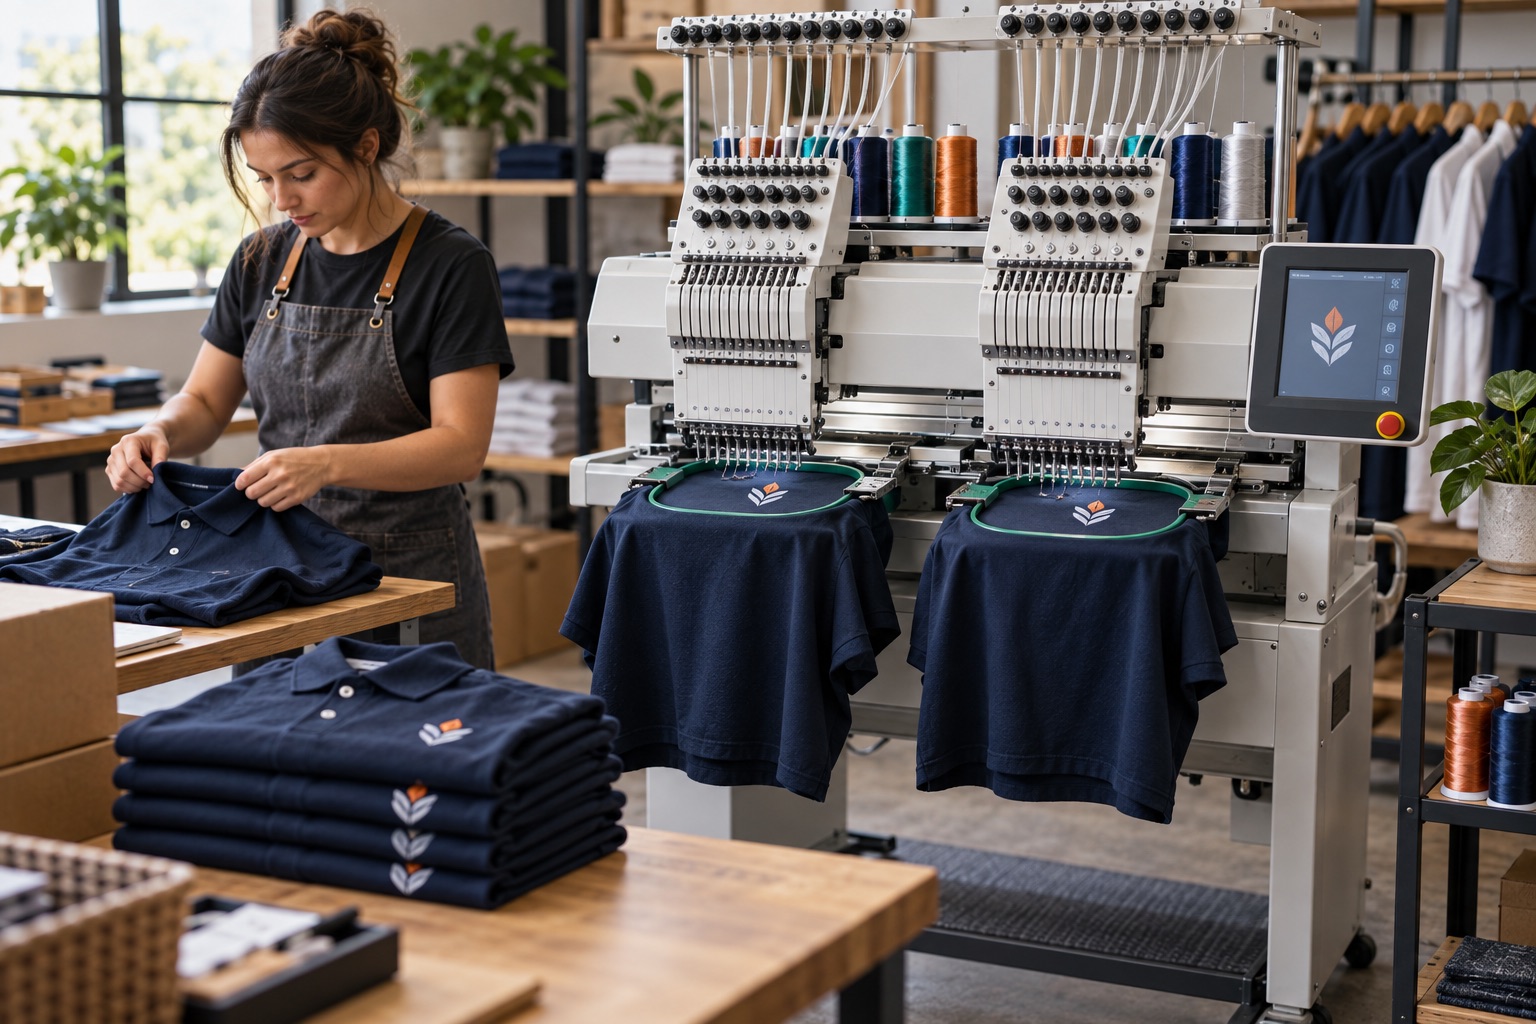
Use that customer mix to choose between the flexibility of a single head and the paired output of two heads.
Budget beyond the machine
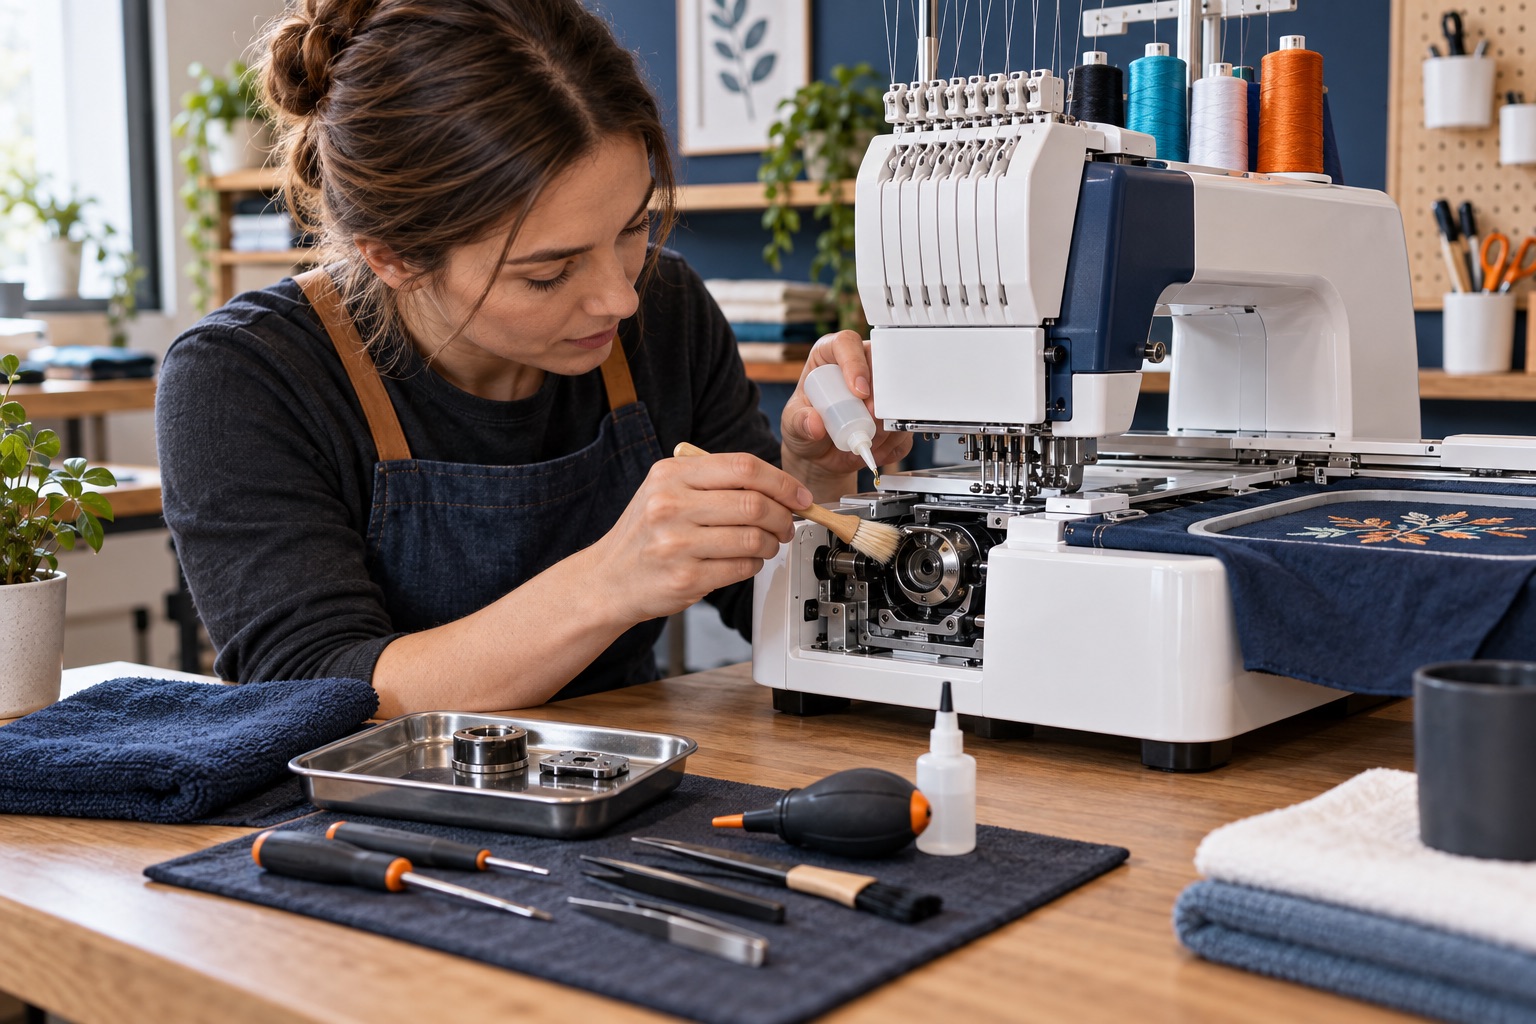
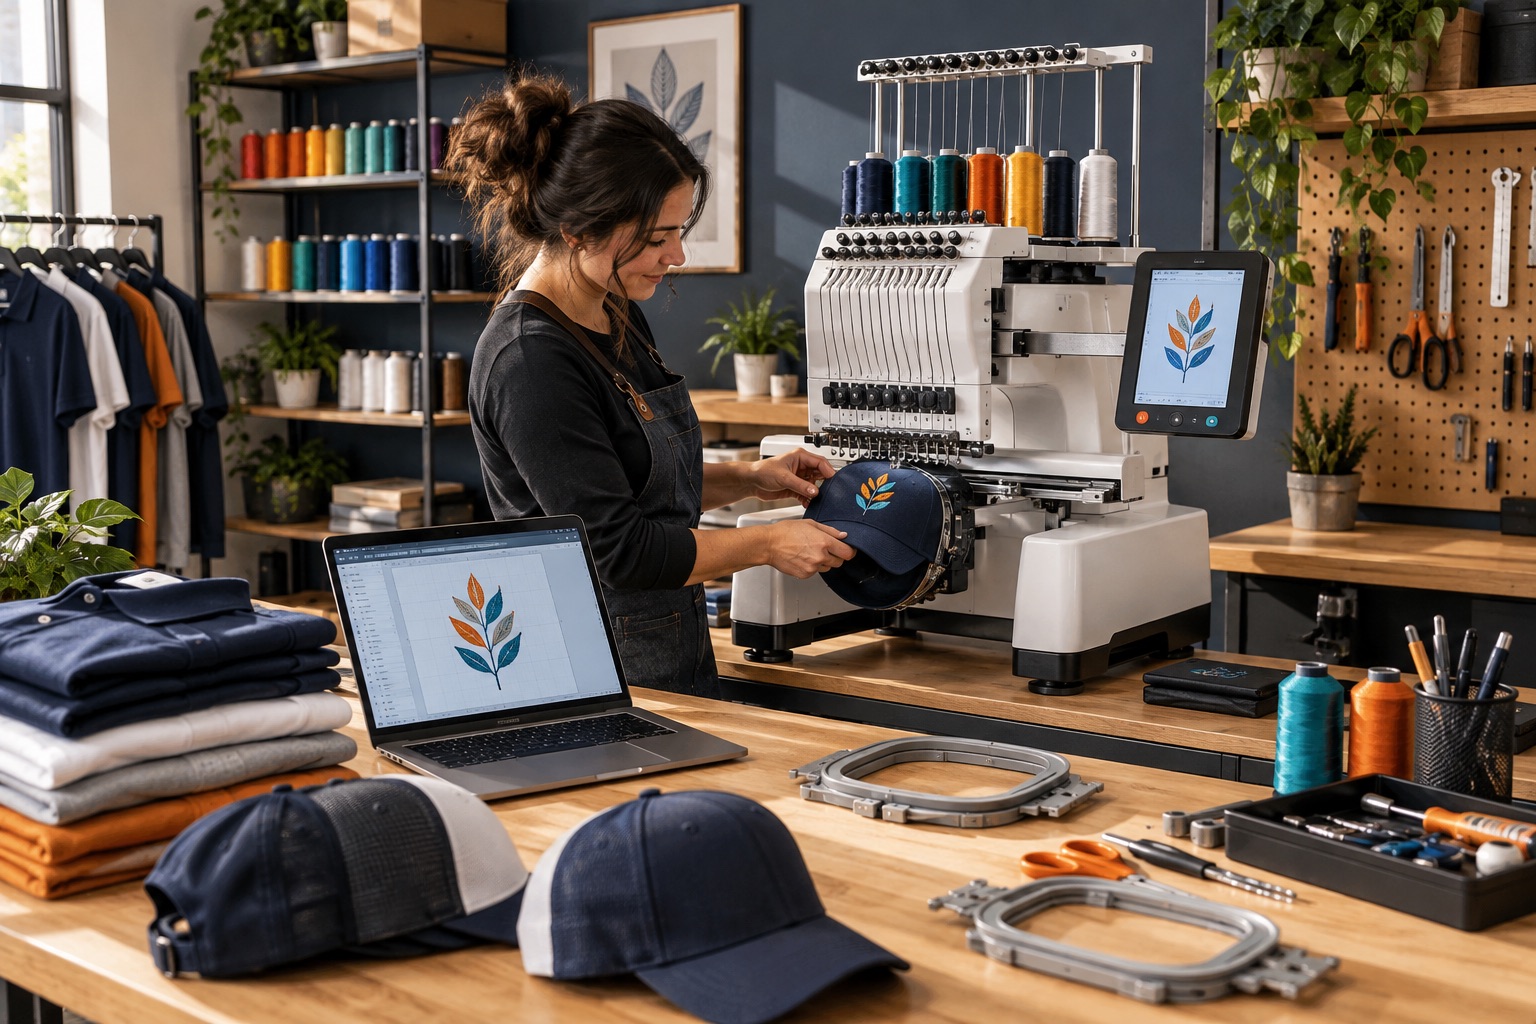
Plan for frames, cap equipment, thread, needles, backing, bobbins, basic tools, digitizing and shipping. You may also need a stable worktable, storage and safe electrical preparation.
Keep working capital for samples and customer acquisition instead of placing the entire budget into the base machine.
Prepare the operating workflow
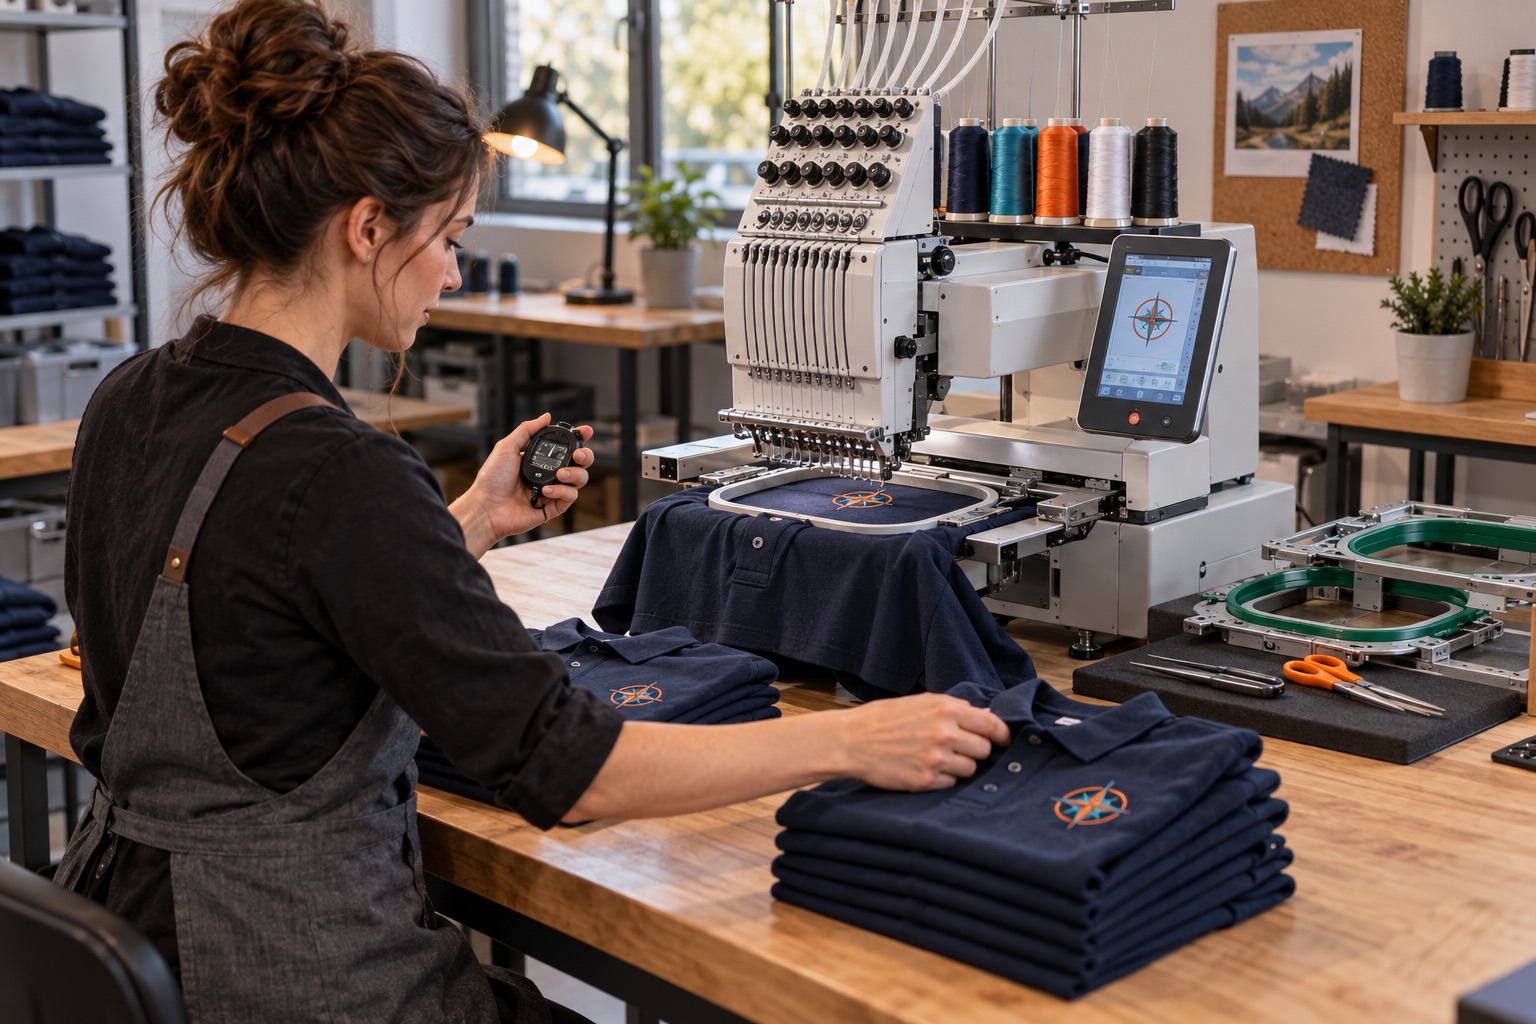
Map the steps from receiving artwork to digitizing, approval, hooping, stitching, trimming and final inspection. Even a one-person shop benefits from file naming, thread storage and repeatable quality checks.
Ask for training material that covers routine setup and recovery from common interruptions.
- Target products and customers
- Machine and attachment budget
- Digitizing process
- Consumables and spare parts
- Workspace and electrical supply
- Support and training plan
Start with measurable capacity
Estimate how many usable production hours you have each day and how much time is spent on preparation. Capacity planning based only on advertised stitch speed will usually be too optimistic.
A compact machine with a disciplined workflow can be a strong foundation for testing demand before expansion.
Machine configurations, commercial terms and support scope vary. Put the agreed details in your quotation and configuration sheet before ordering.