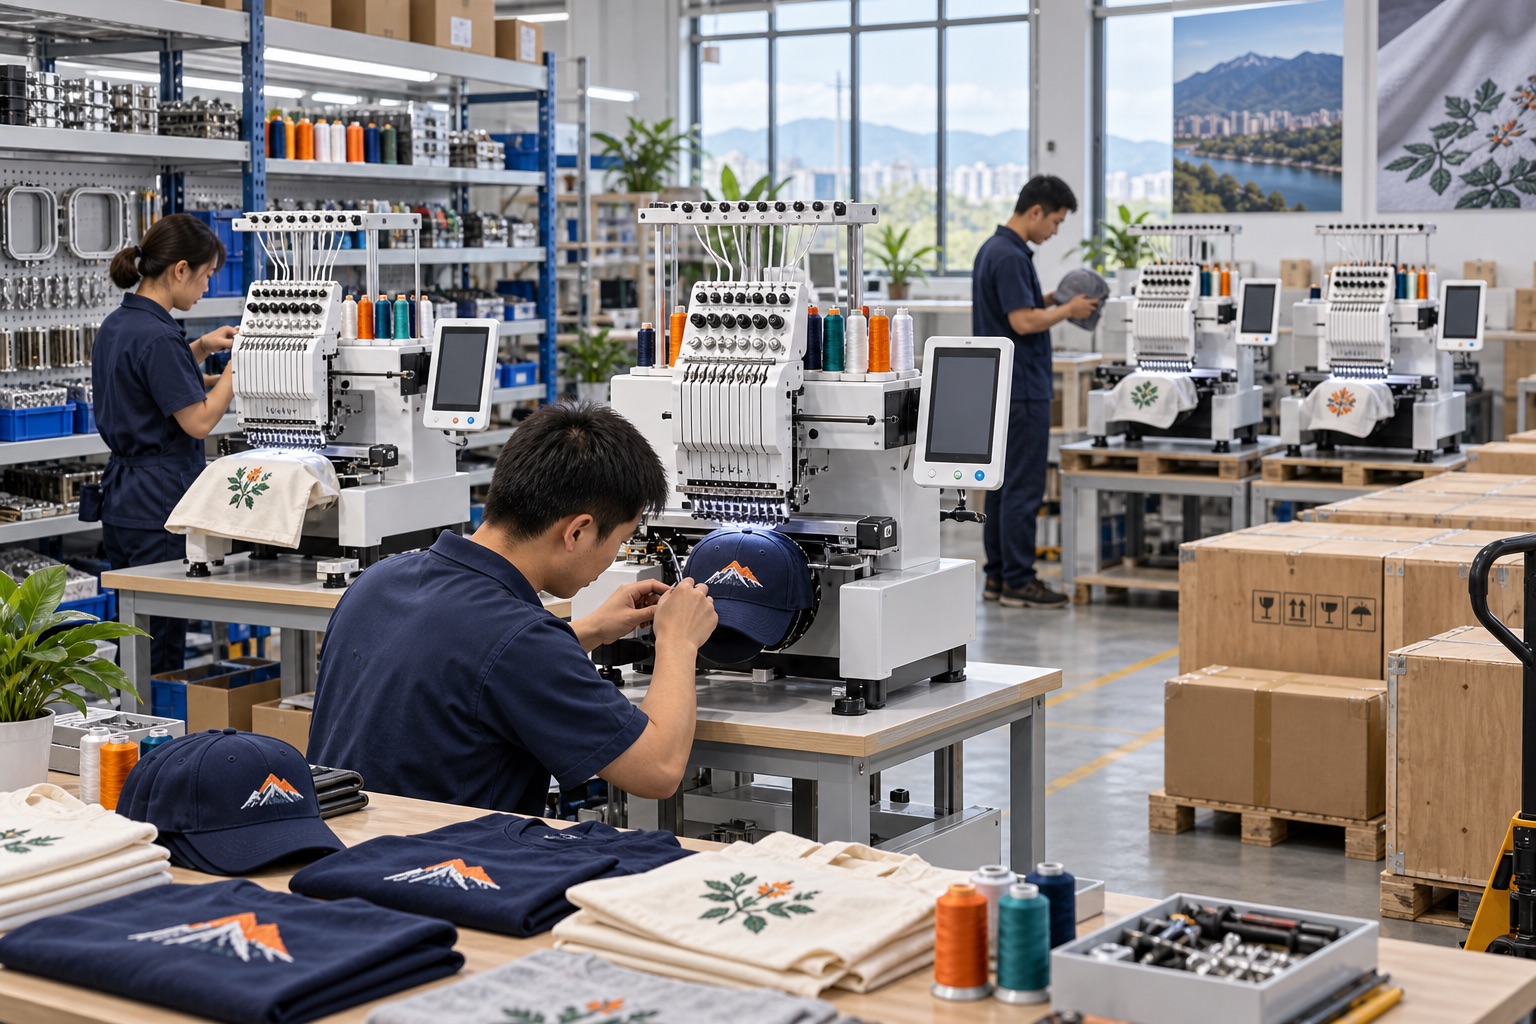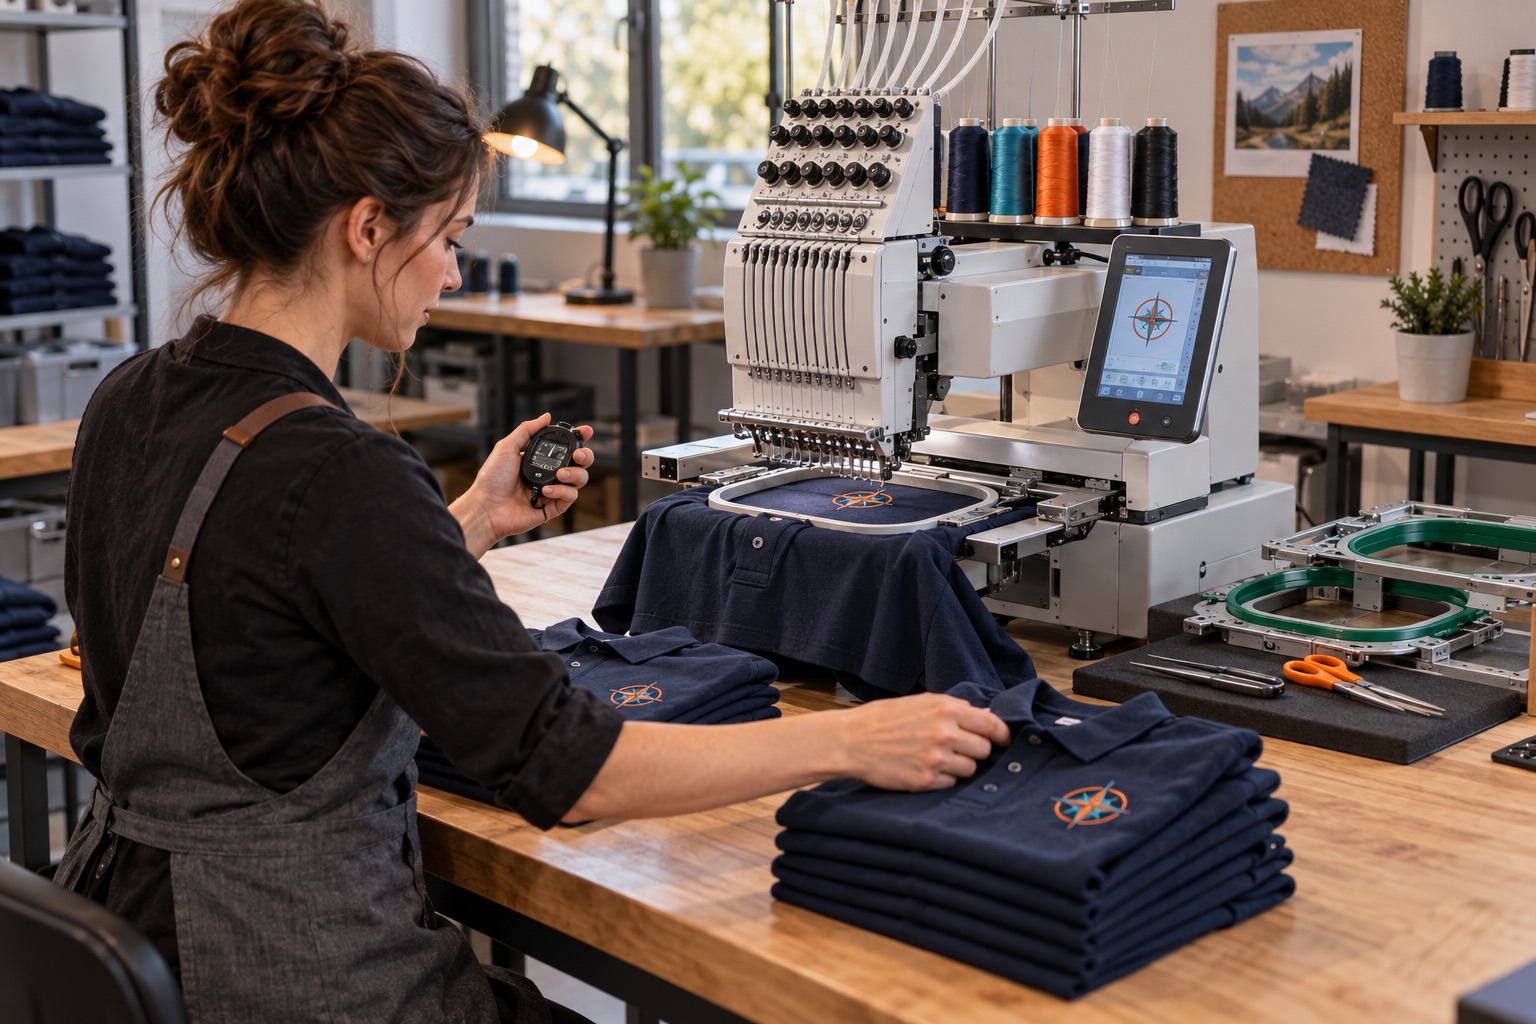
Production capacity is not the machine’s maximum speed multiplied by working hours. Real output includes setup, handling, thread changes, trimming, maintenance and the variation between designs.
Start with stitches per design
Use the stitch count from the embroidery file and an expected operating speed that suits the material and design. Add time for color changes, trims and any planned stops.
A dense design, small lettering or difficult material may need a more conservative speed than a simple logo.
Add handling time
Measure how long it takes to hoop the item, load the frame, confirm placement, remove the finished piece and inspect it. These minutes can represent a large part of a short design cycle.
Prepare the next item while the machine runs when staffing and workspace allow.
Apply an efficiency factor
Do not schedule every available minute as production. Allow for design changes, thread breaks, bobbin replacement, operator breaks and routine cleaning. Track actual jobs for several weeks and update the estimate with your own data.
For two-head production, count two finished pieces per successful matched run, but include the extra loading and alignment work.
Use a simple planning formula
Estimate total cycle time as machine run time plus handling time. Divide usable daily production minutes by that cycle time, then multiply by the number of pieces stitched in each run. Treat the result as a planning range, not a guaranteed output.
- Stitches and color changes per design
- Practical running speed
- Hooping and handling minutes
- Pieces per run
- Usable production minutes
- Allowance for interruptions
Machine configurations, commercial terms and support scope vary. Put the agreed details in your quotation and configuration sheet before ordering.